Install and manage Visual SVN Server
1. Introduction
No ADS
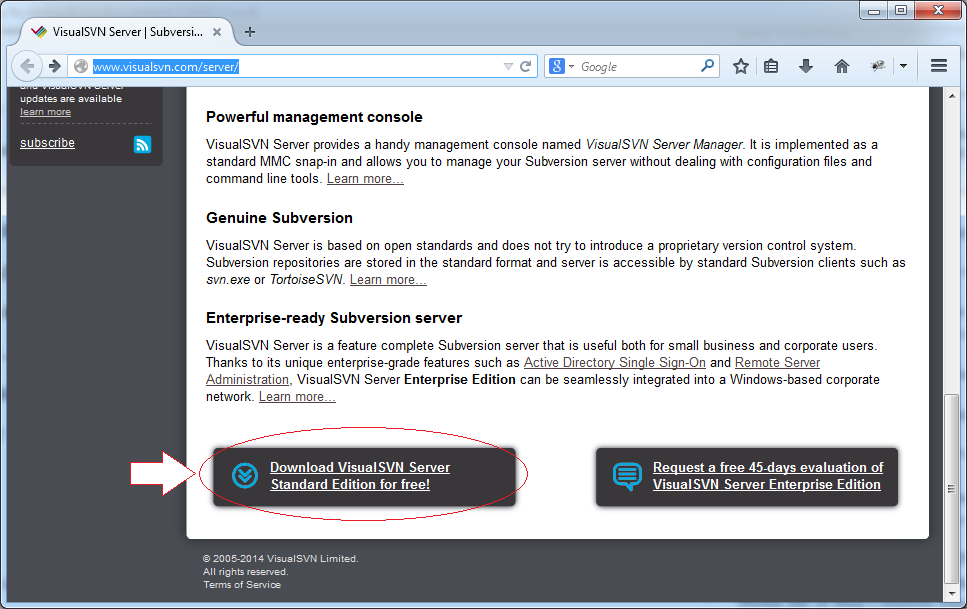
In this document, I will instruct you to install Visual SVN. It is a product of Microsoft, and it also has a free standard version.
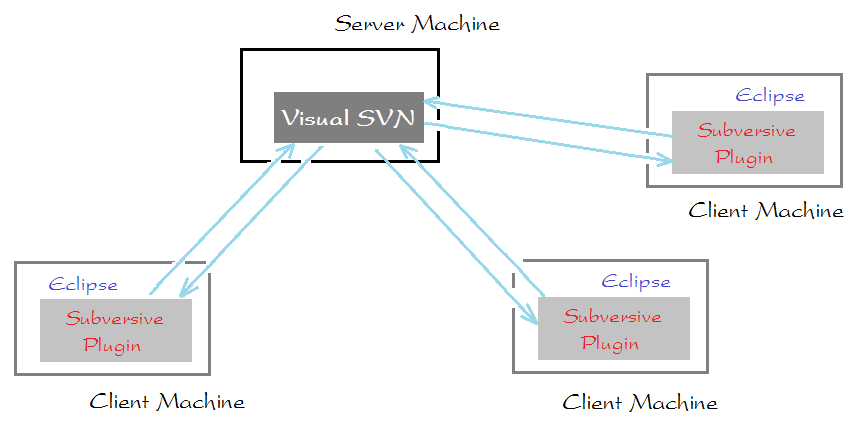
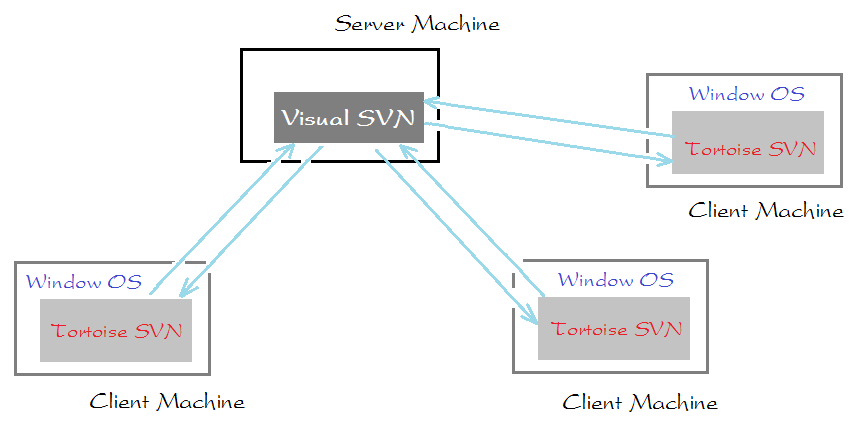
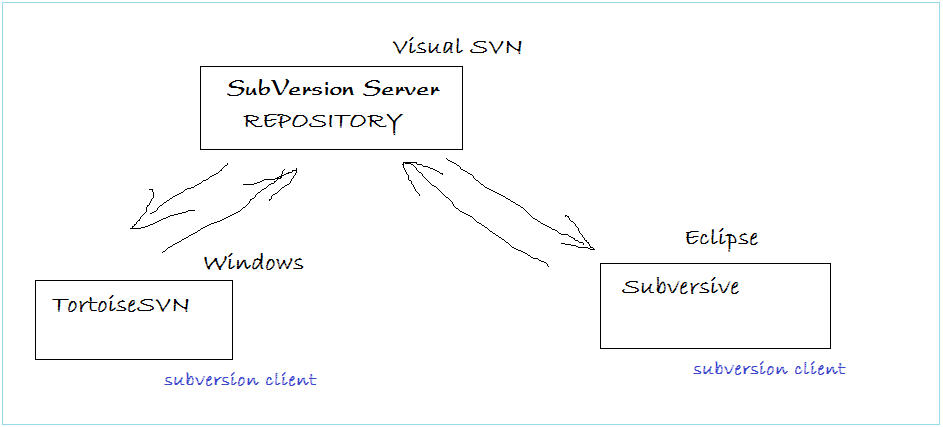
Visual SVN is used as a Repository Server for storing data files shared among team members. Visual SVN is installed in a host computer while team members will install subversion client. There are many Subversion client programs developed by various companies, and most of them are free.
For Java programmers, you can install Subversive into Eclipse, you can easily share and retrieve data from the project on the SVN Repository.See more:
Objectives of the document:
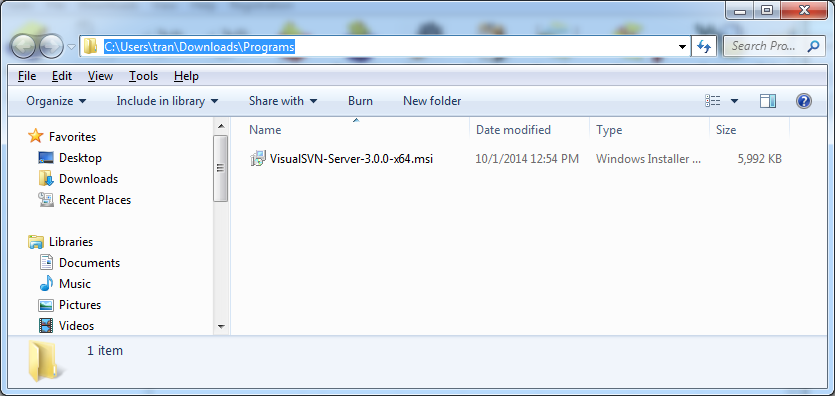
- Instruct to download Visual SVN
- Install Visual SVN
- Create working User, create Repository
- Decentralize Users' authority to access to Repository.
3. Install Visual SVN
No ADS
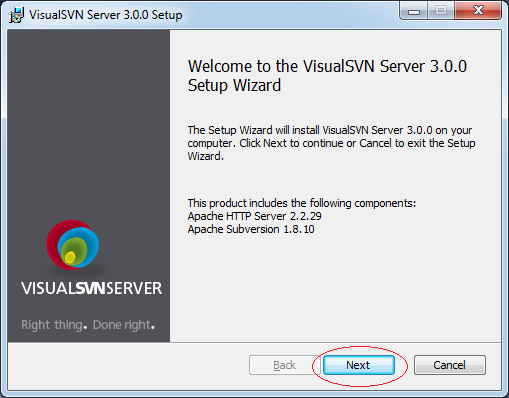
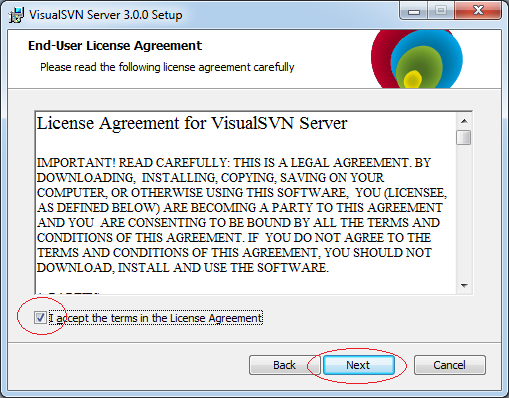
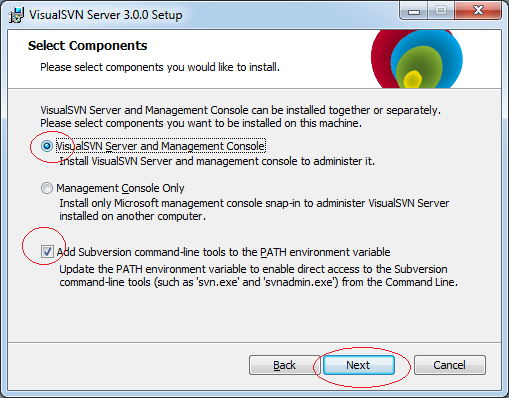
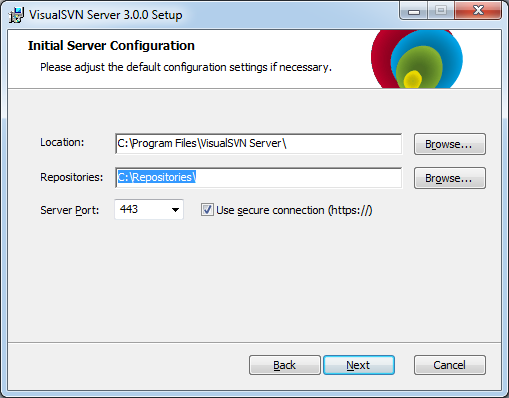
Select the directory to install, for example:
- C:\Program Files\VisualSVN Server
Select the position for the folder containing data (Usually you should put into a safe drive):
- C:\Repositories
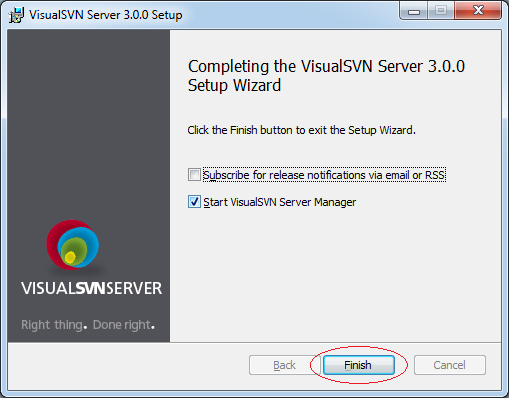
Click Finish to complete.
4. Create and manage Repository
No ADS
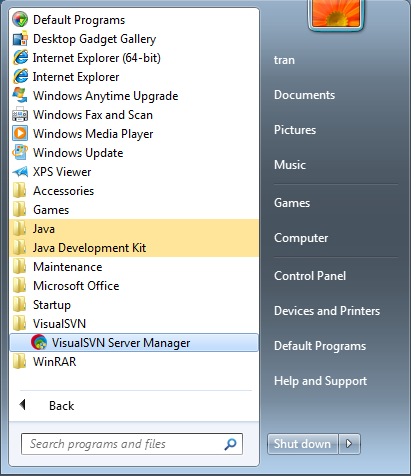
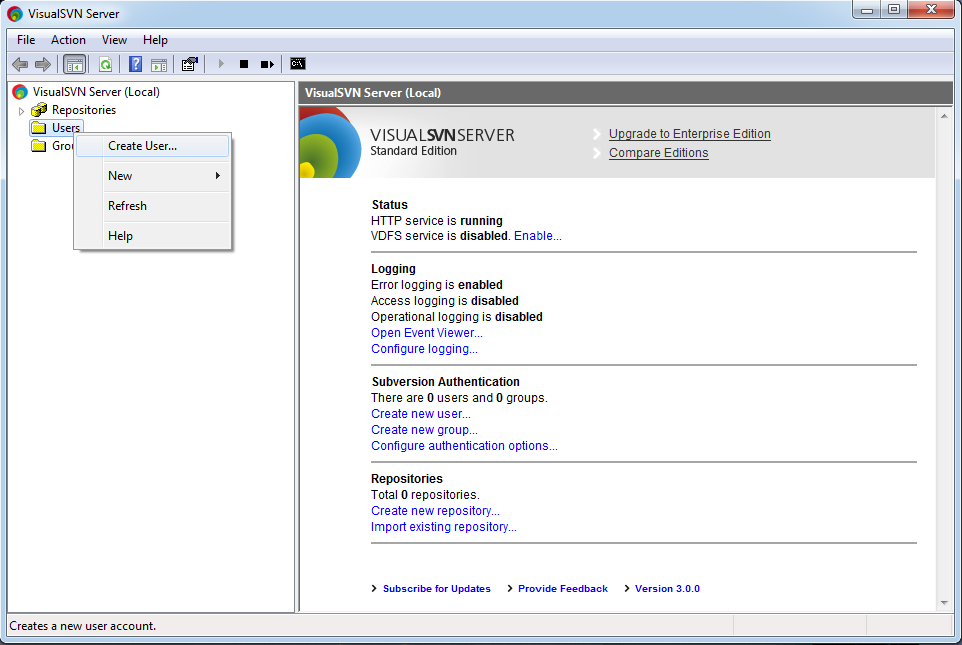
This is the image showing Visual SVN after it has been ran. We create a new user.
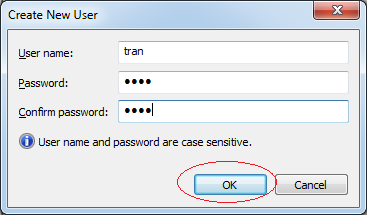
Enter username/password
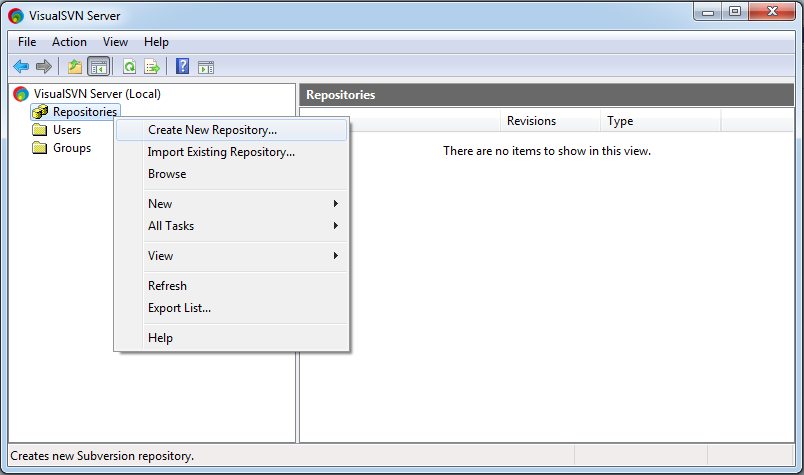
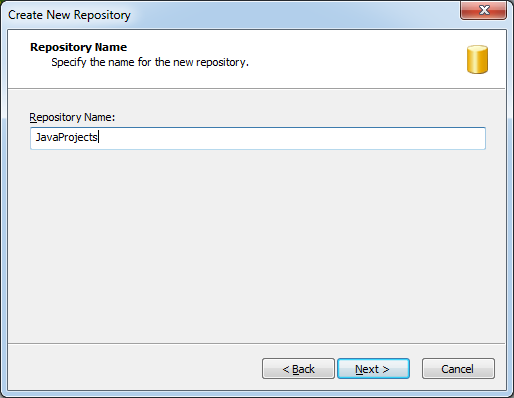
Next, we create a new Repository named JavaProjects. This is an empty Repository without data. Data will be pushed on server from a subversion client (by a member of programming group), and will be taken by other members. Members can modify data and push on Repository.
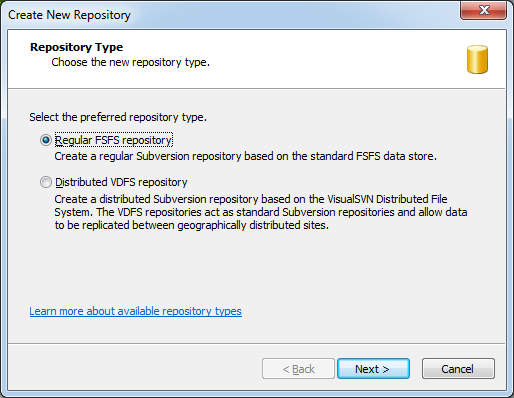
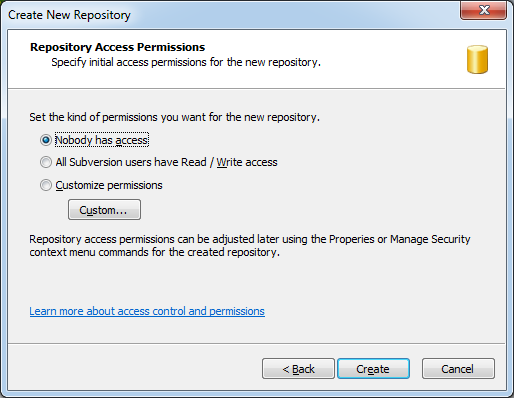
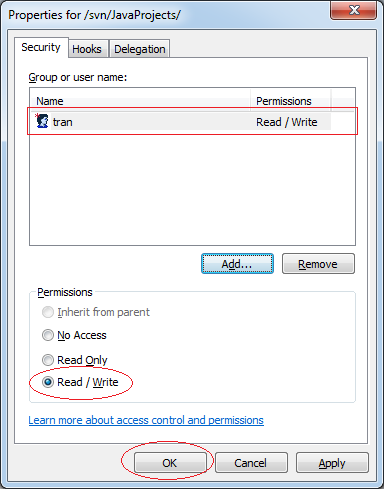
By default no one is allowed to access to this Repository, we will decentralize the authority later.
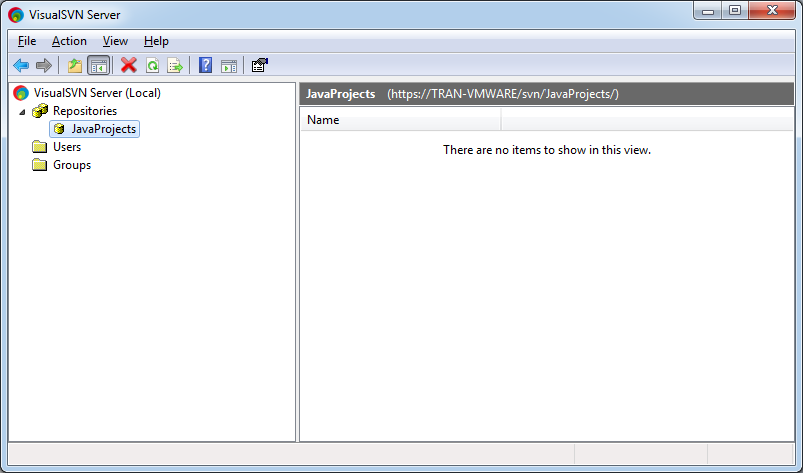
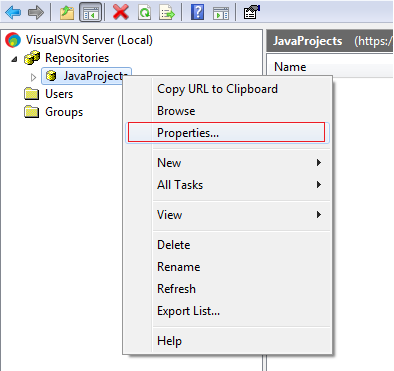
Right-click on Repository "JavaProjects" and select Properties
Click Add to add user who has the authority to access to this Repository.
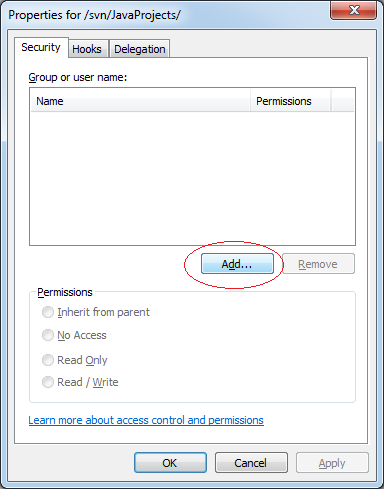
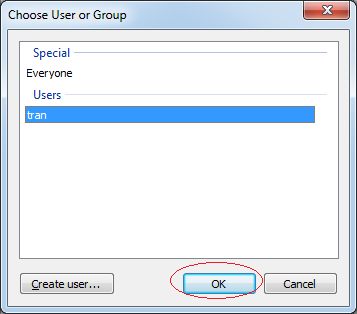
Select User's authority.
Similarly, you can create other Repository, for example WorkingDatas
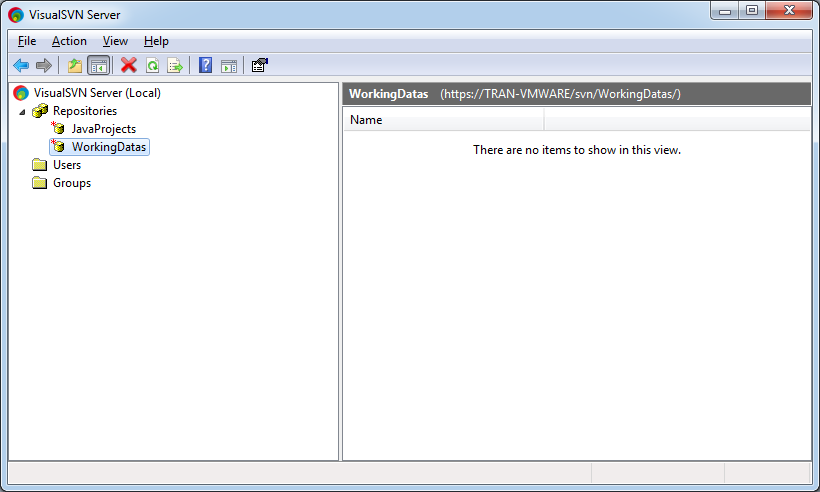
The Visual SVN Installation was successful.
No ADS
