Install Ubuntu Server in VmWare
1. Ubuntu Server
No ADS
Ubuntu Server is a free open-source operating system. When you need a server to deploy applications, Ubuntu Server will be a good choice.
By default, when Ubuntu Server has been already installed, it has no graphical user interface. And you have to use the Command Line to work with it.
After you have aalready installed Ubuntu Server, you have 2 options:
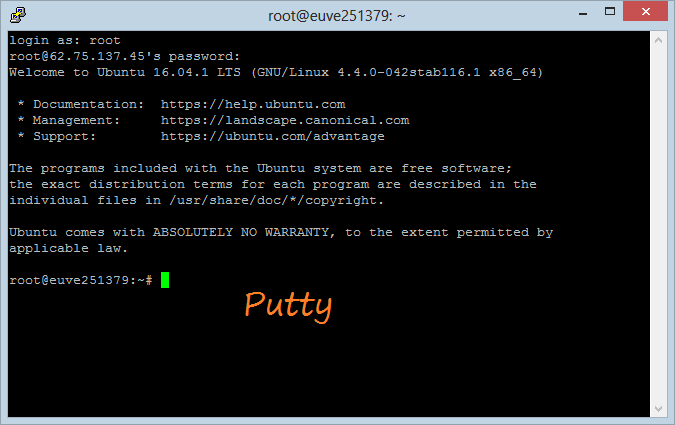
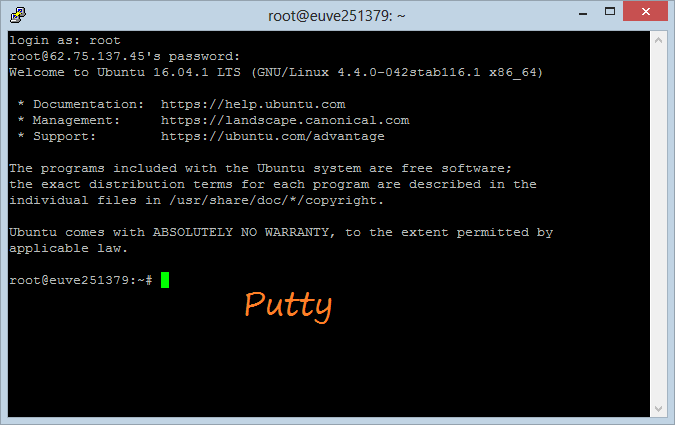
Install PuTTY on your computer (See more in the Appendix in the bottom of the post).
Putty is an application allowing you to remotely connect to Ubuntu Server and to run the Command Line on Putty to interact with Ubuntu Server.
Install the graphical interface for Ubuntu Server.
As mentioned above, by default, when Ubuntu Server has been already installed, it has no graphical user interface. However, you can install it as an extra option and install VNC Server to remotely control it (It is similar to that you use the Remote function between computers using the Windows operating system).
2. Download Ubuntu 16
To download Ubuntu Server, you access the address:
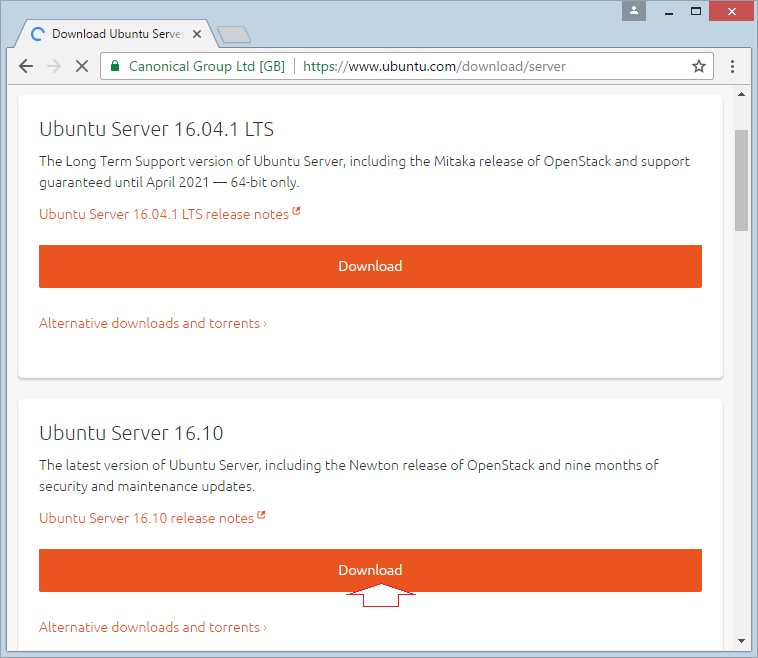
Until now, the latest version is Ubuntu Server 16.10, we will download and install this version.
Note: If you want to search for other versions, let's enter the link below:
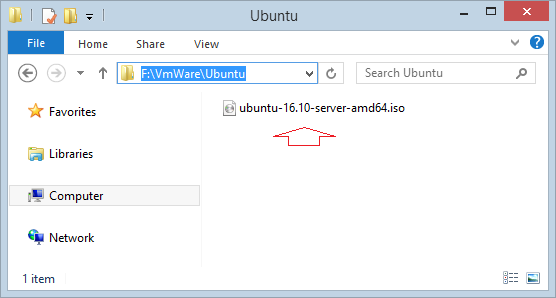
The result you get after having already downloaded:
3. Installing Ubuntu Server on VmWare
No ADS
In this post installed Ubuntu Server on VMware version 12.
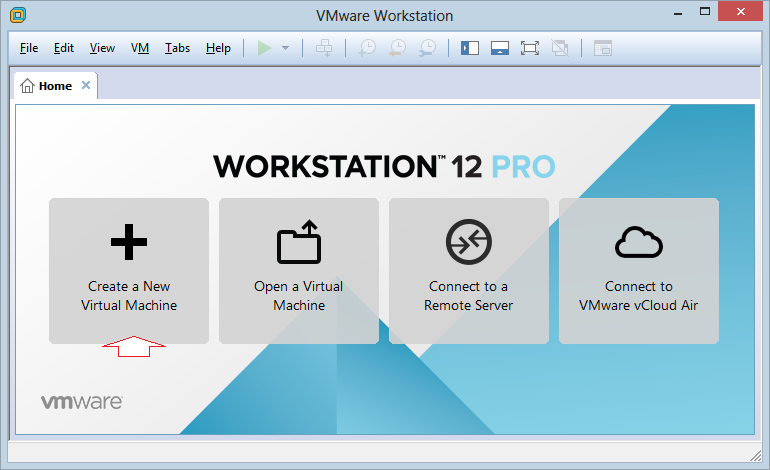
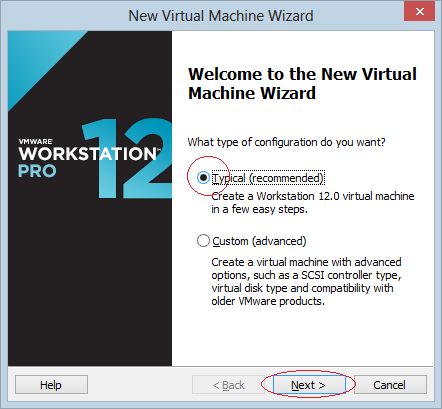
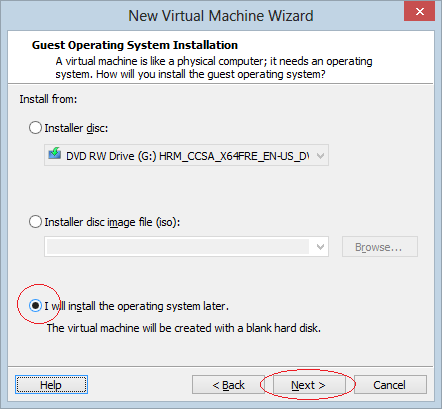
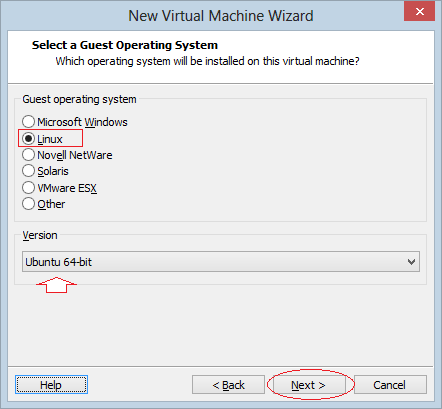
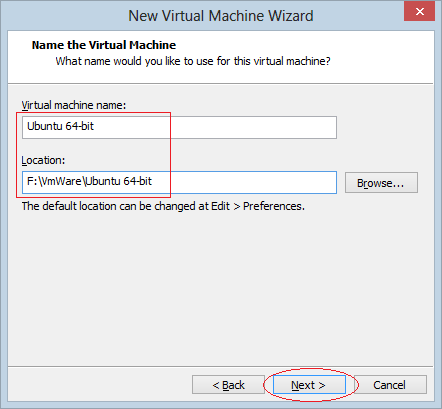
Name the virtual machine and select installation location
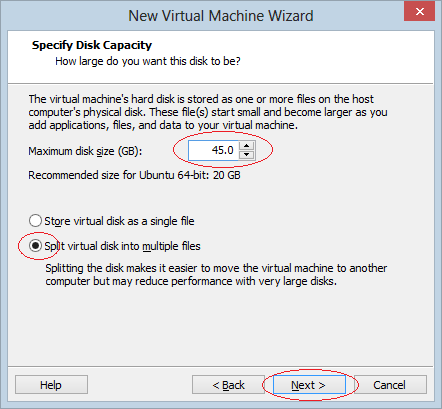
Next, you need to specify the hard drive capacity for Ubuntu. Here I set is 45GB.
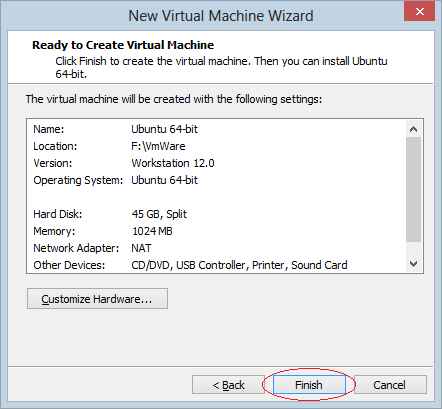
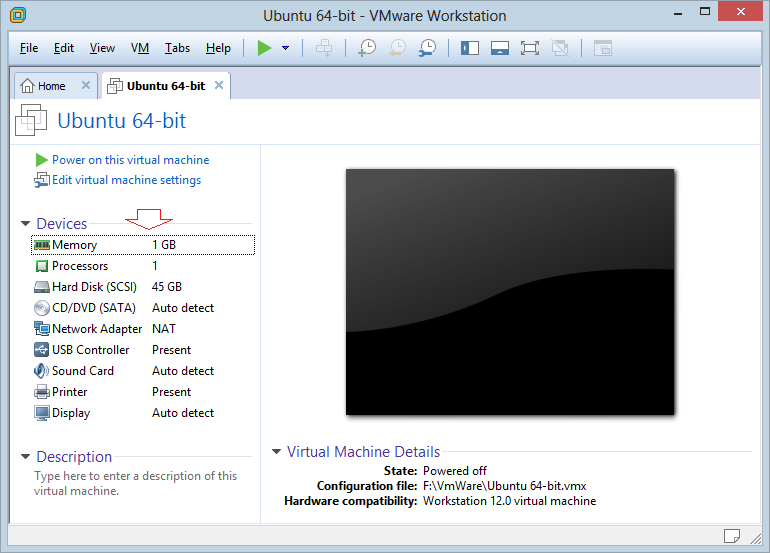
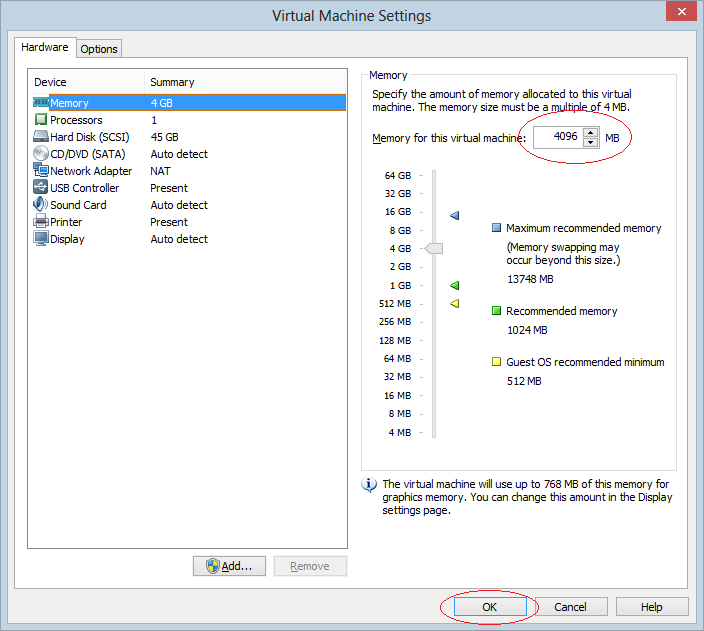
Bạn có thể hiệu chỉnh số lượng RAM cấp cho Unbuntu Server:
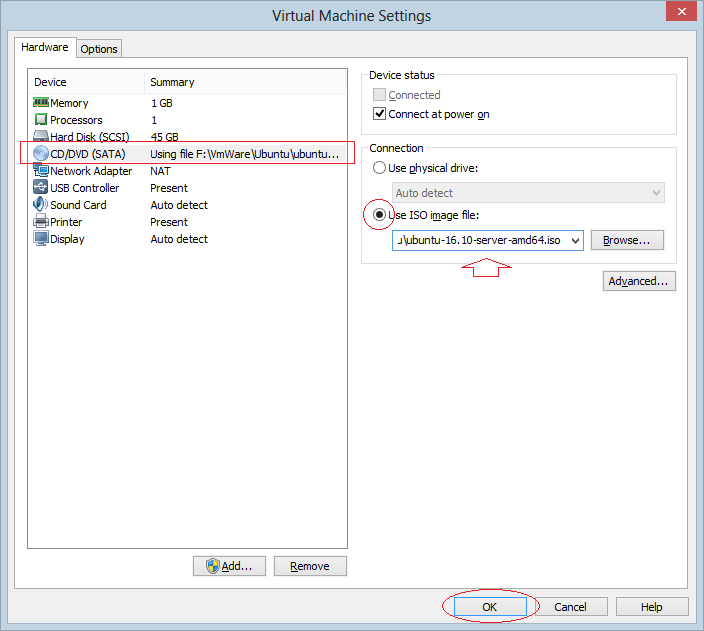
Point to the file location to install Ubuntu Server that you have just downloaded.
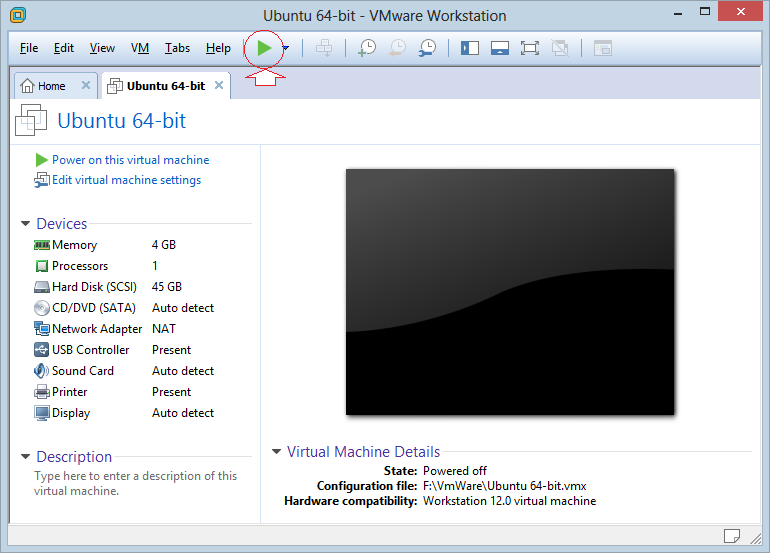
Start installing:
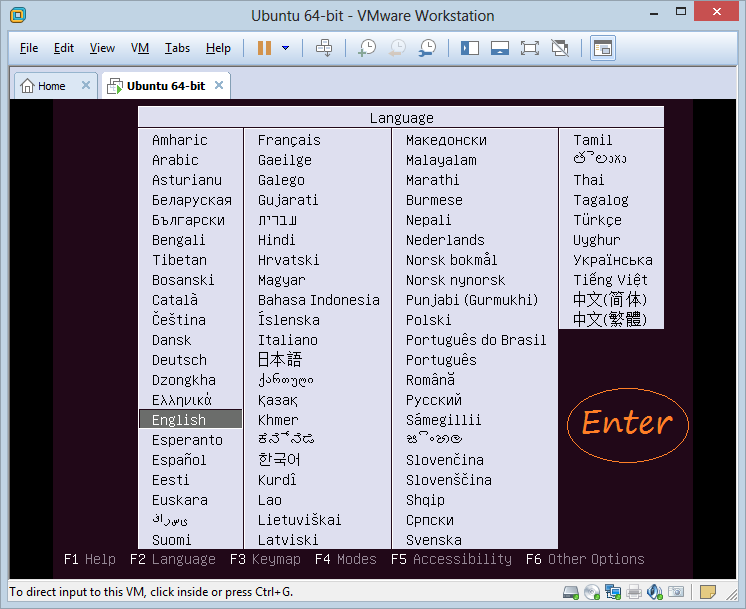
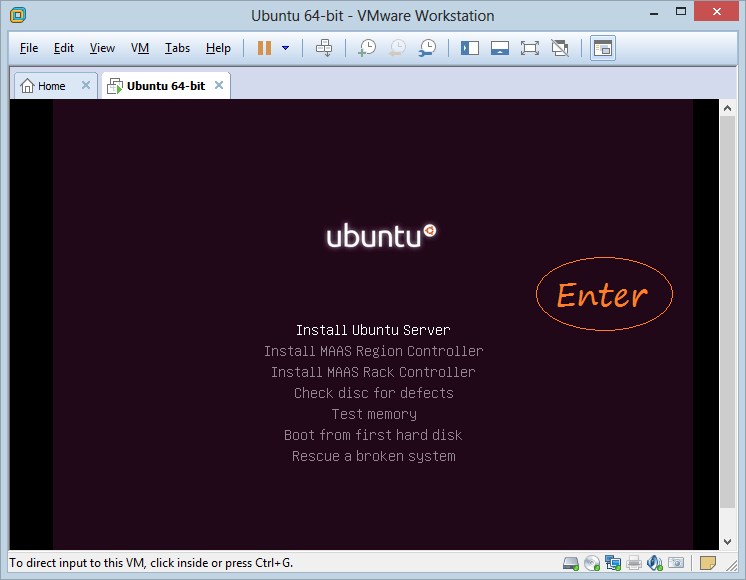
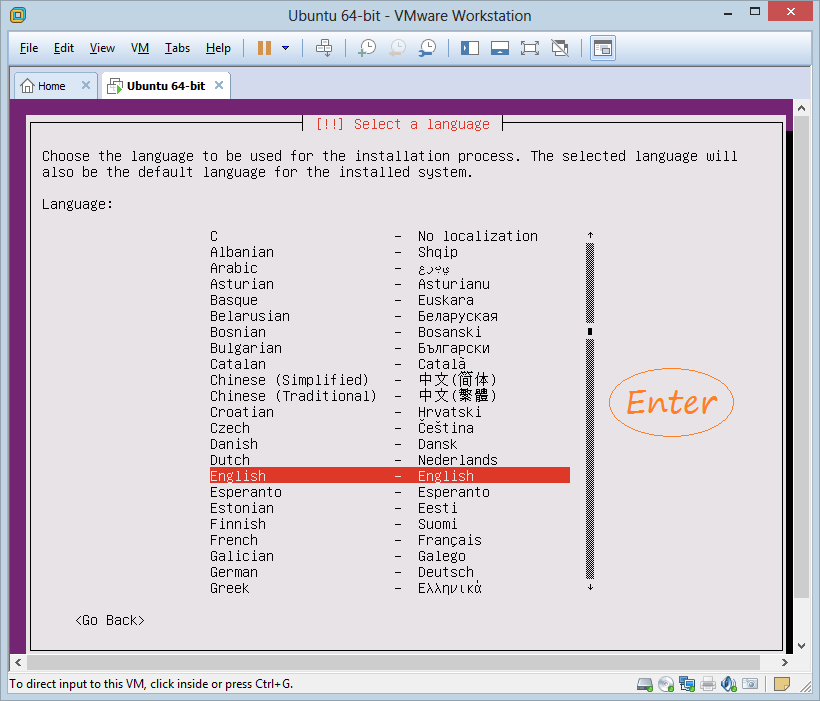
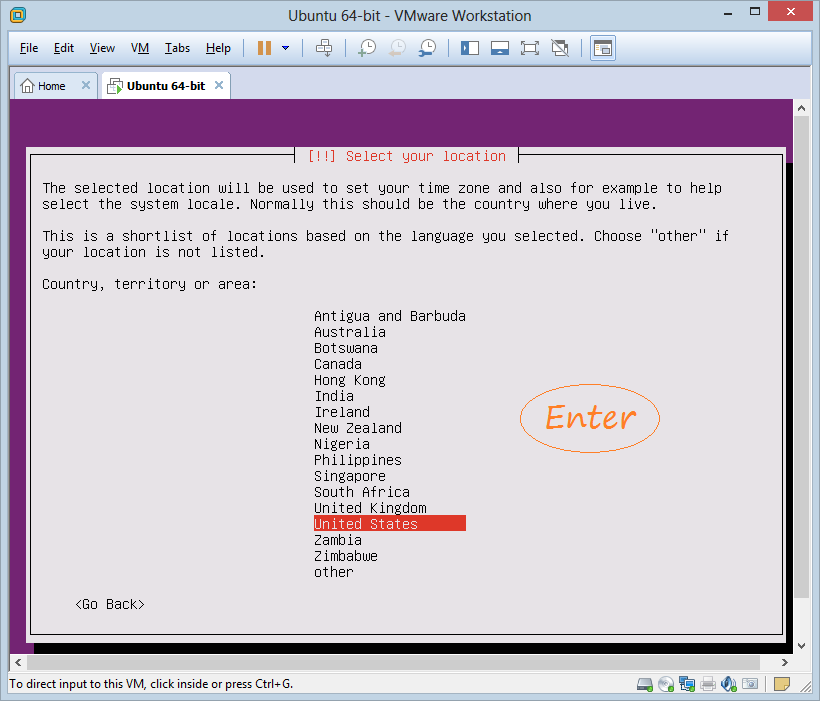
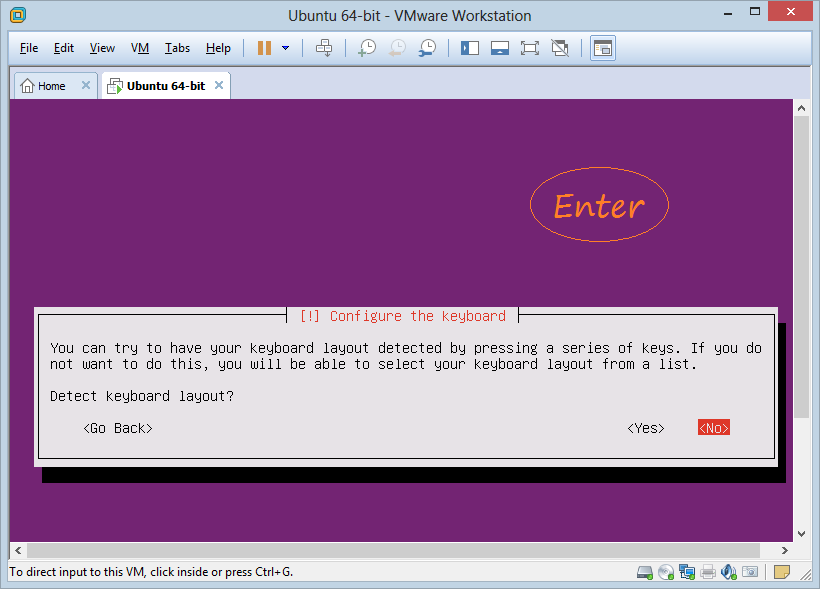
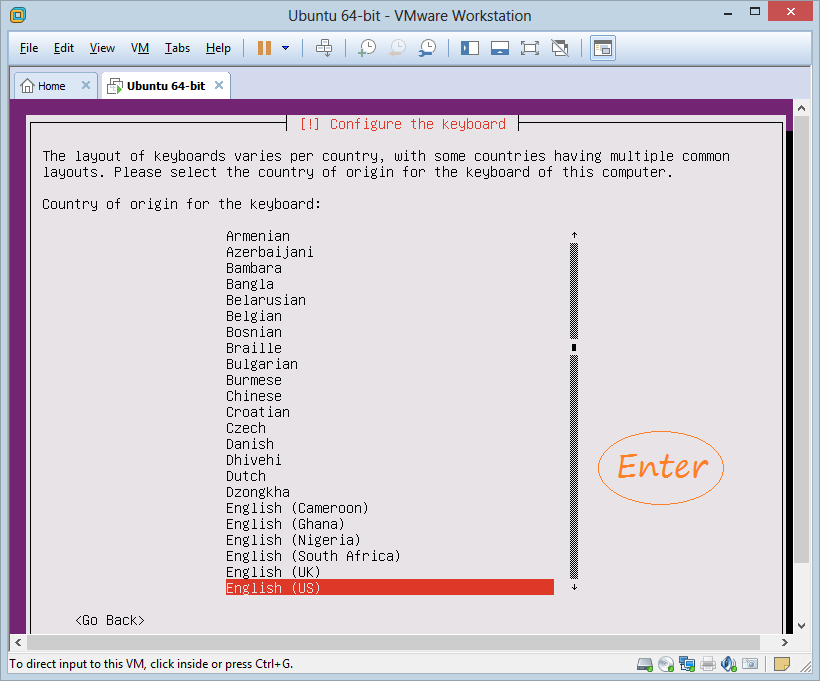
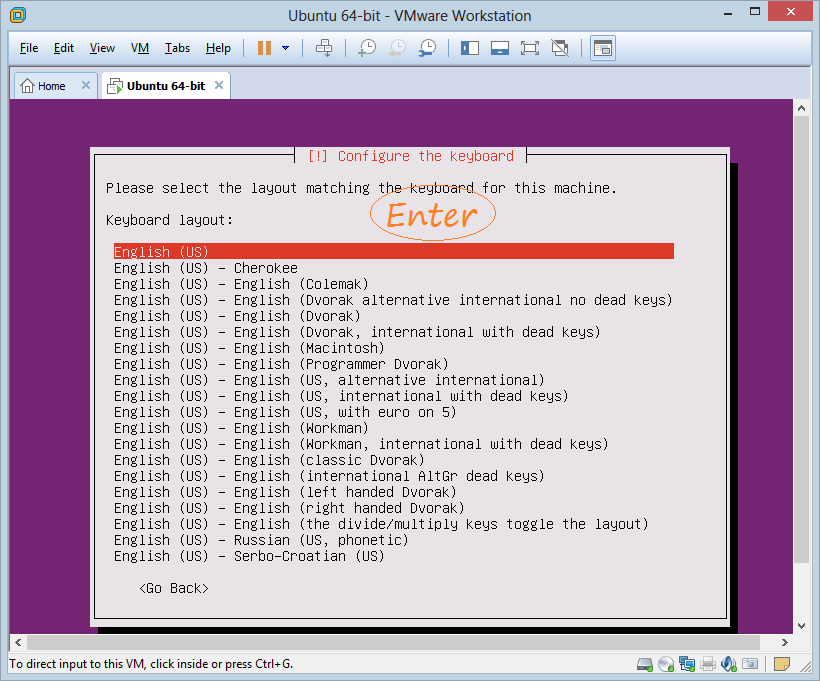
Ubuntu Server has been installing:
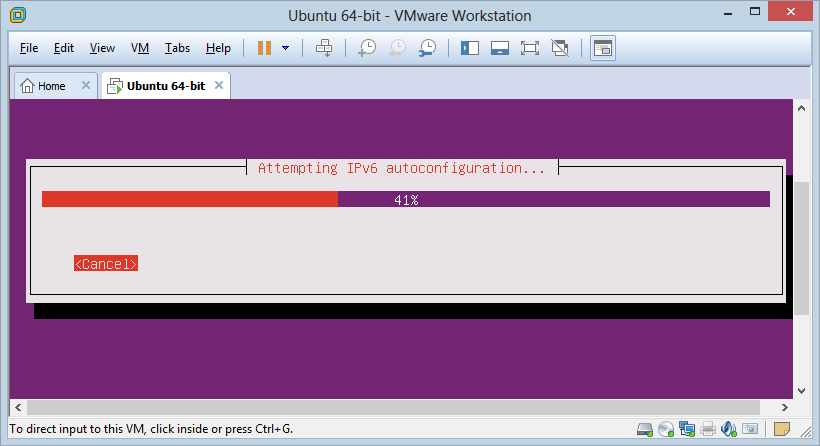
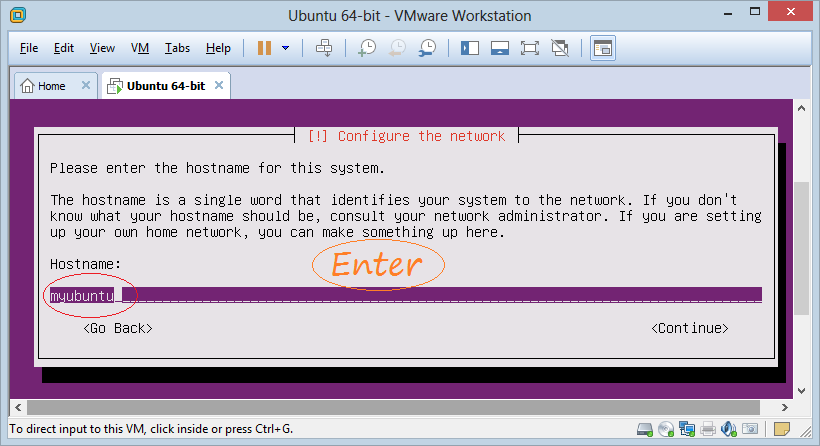
Next, set hostname for Ubuntu Server, such as abc.com or myubuntu,...
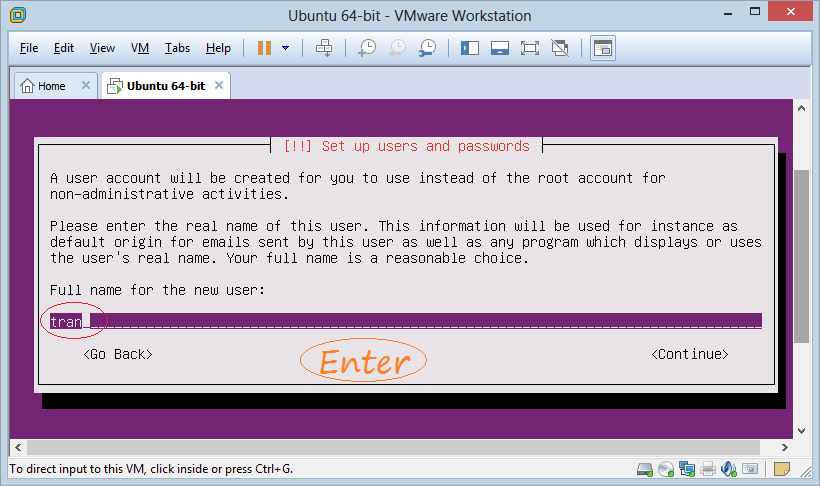
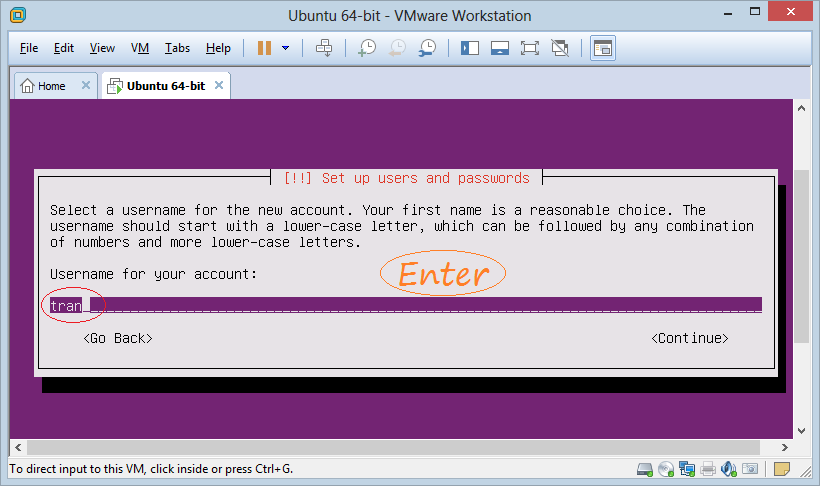
Create a user, the user is used to log in the Ubuntu OS after having been installed.
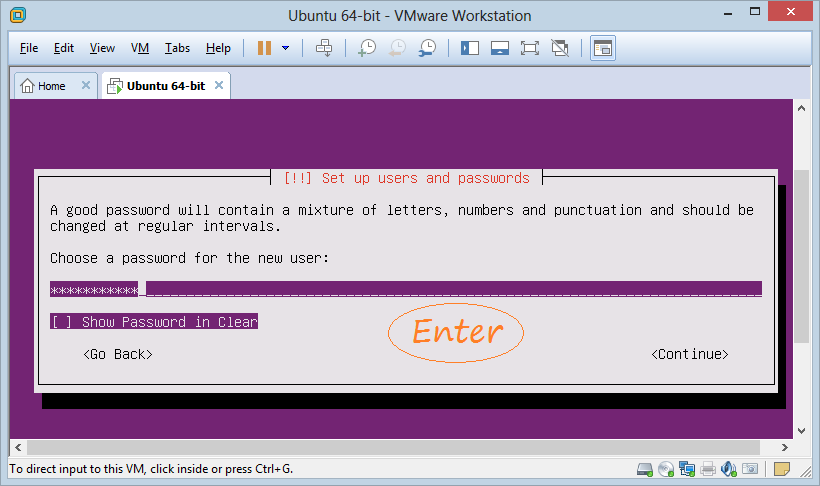
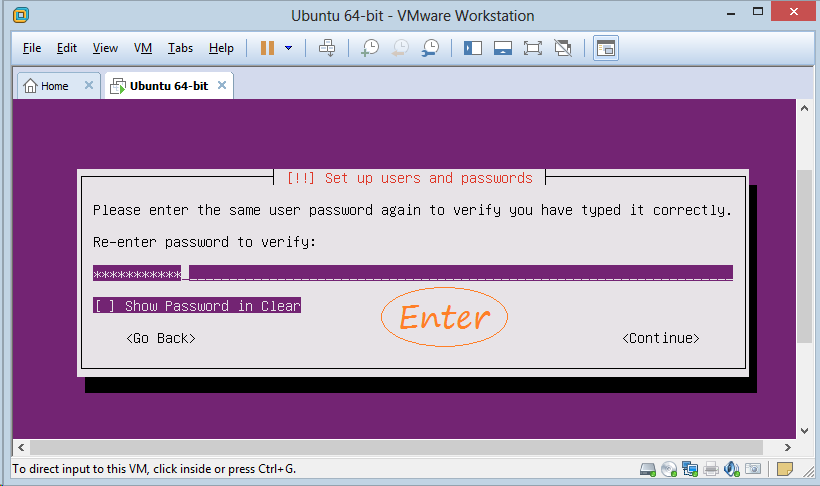
Enter the password for the user.
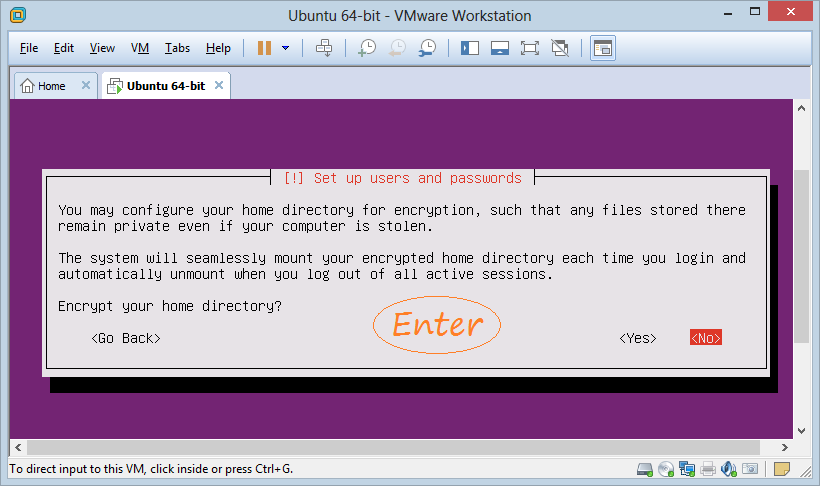
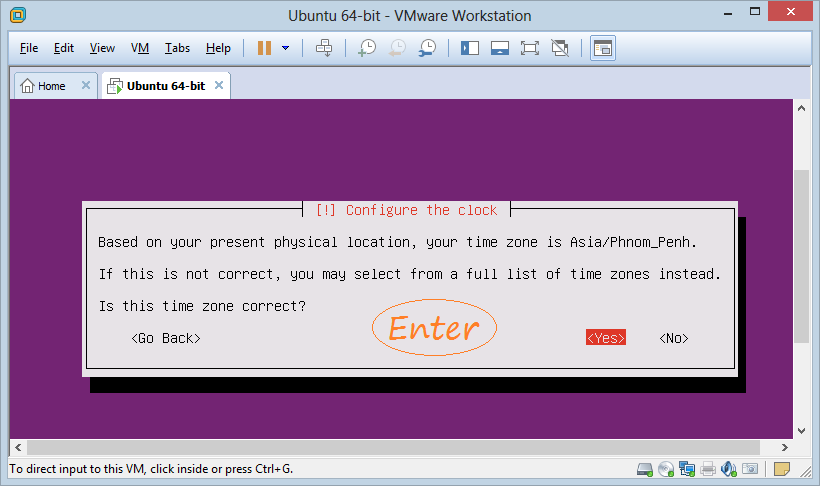
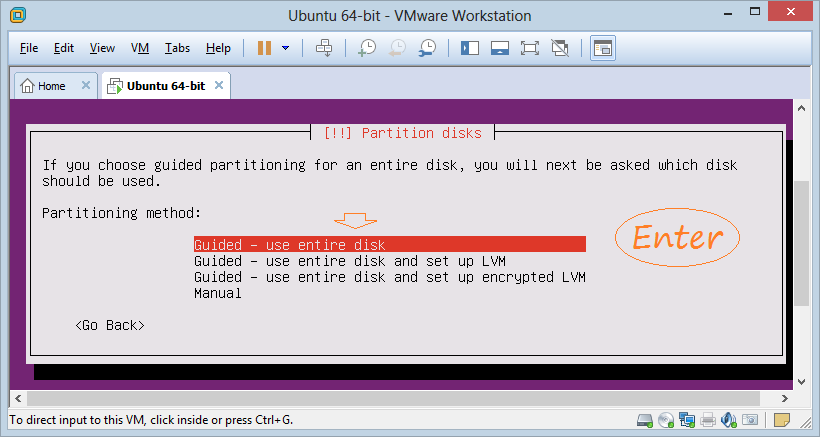
Configure hard drive partition.
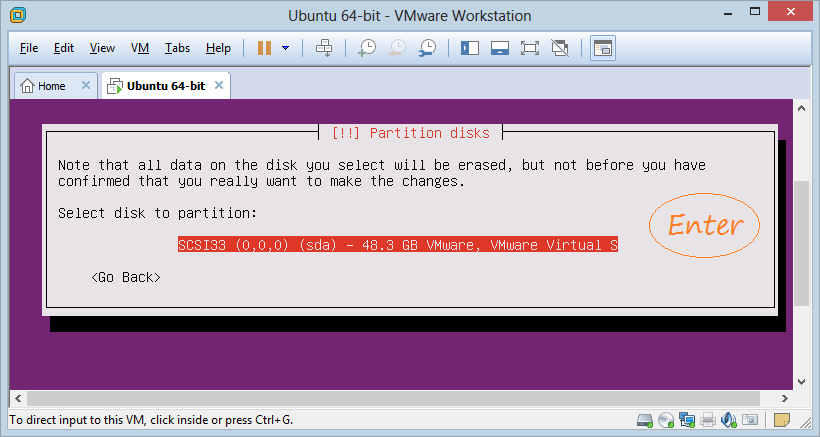
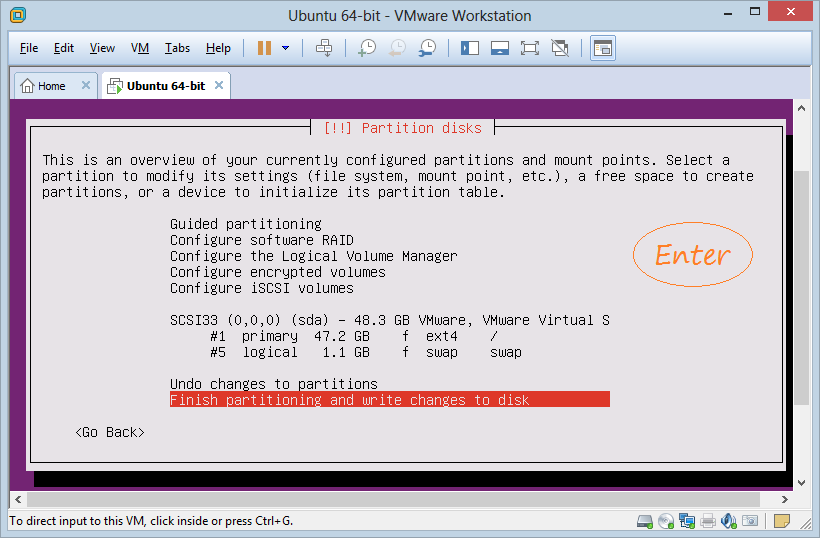
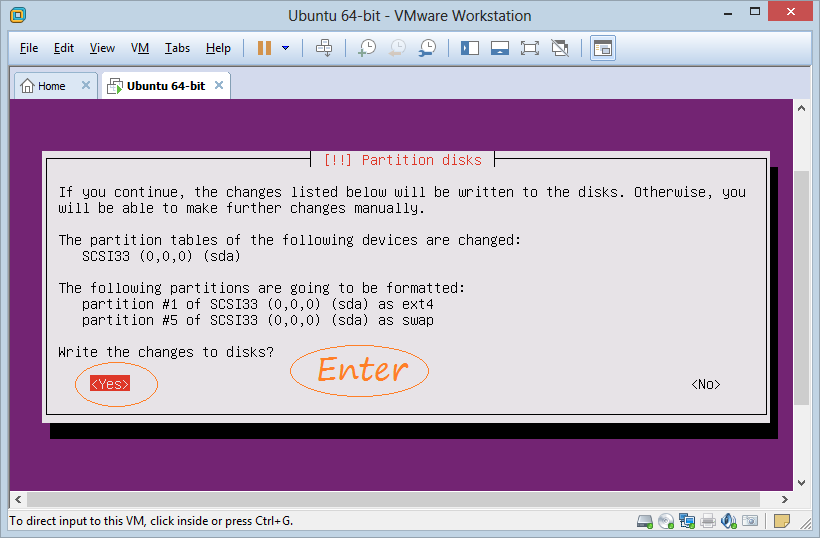
Ubuntu Server has been installing:
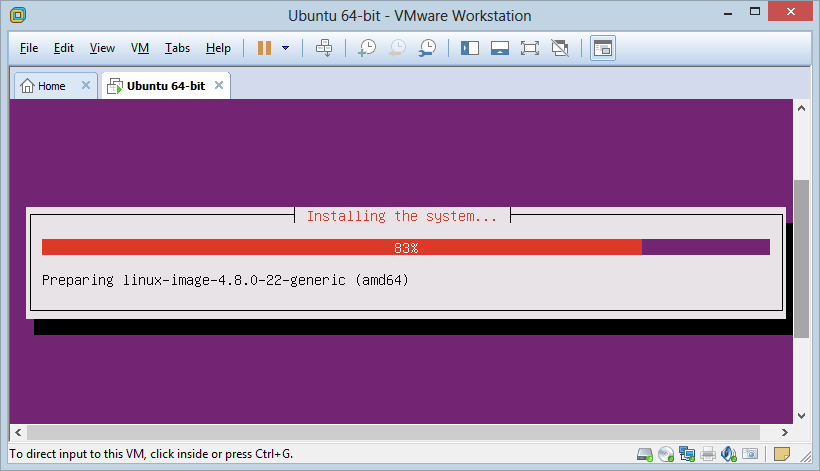
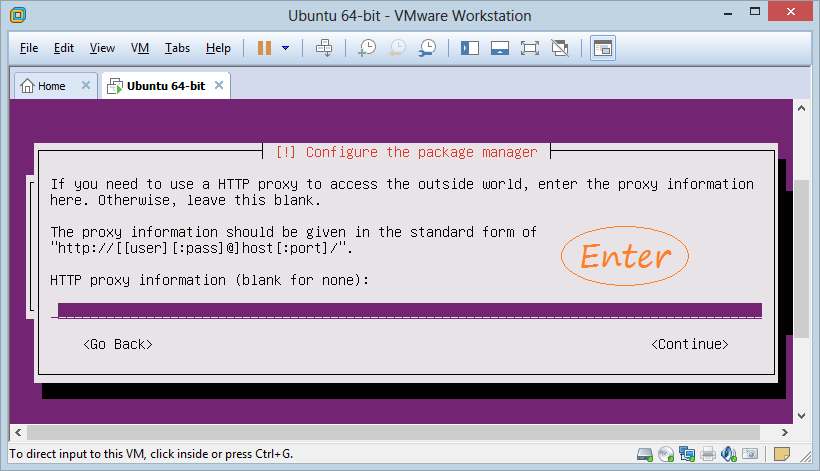
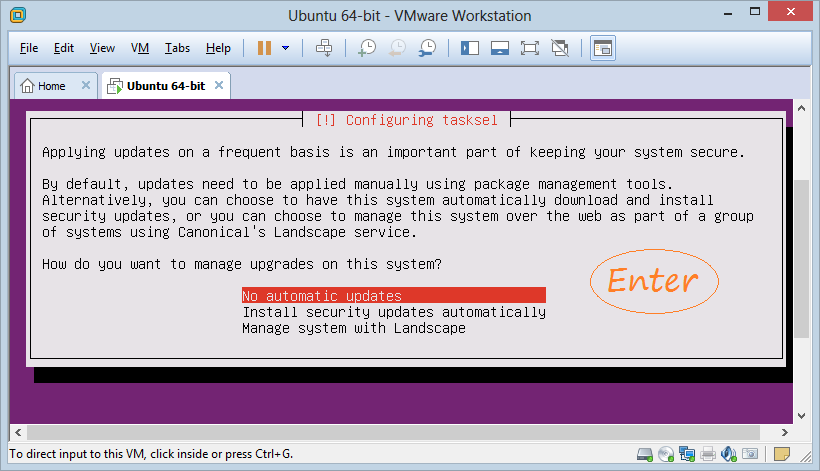
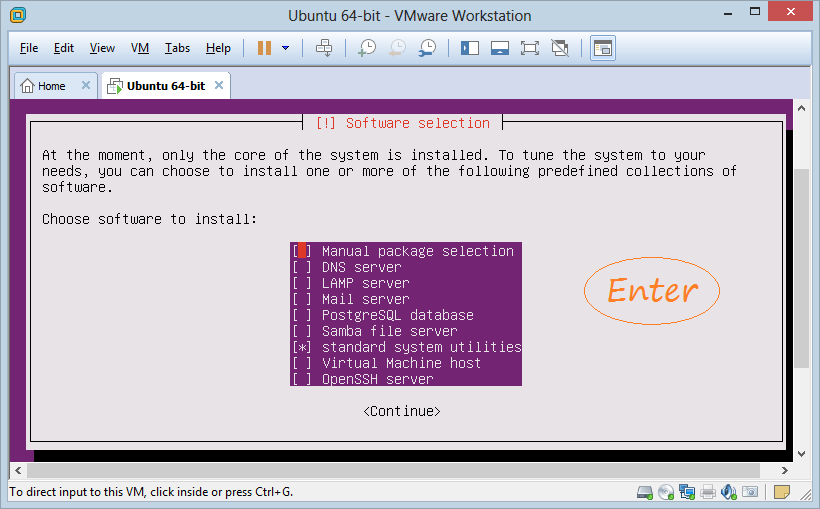
Next, there are some options you can install, it depends on your purpose, select the softwares that you want to install and press Enter.
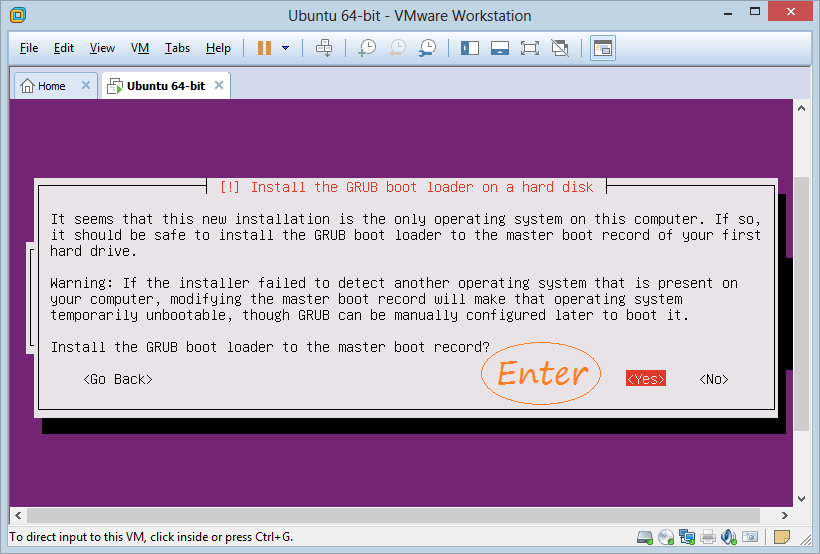
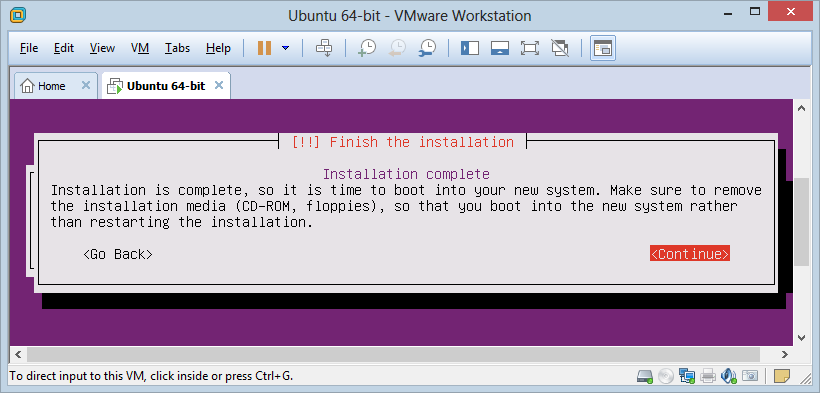
Now, you have installed Ubuntu Server successfully.
4. Using Ubuntu Server
No ADS
After installation, the Ubuntu OS will be started.
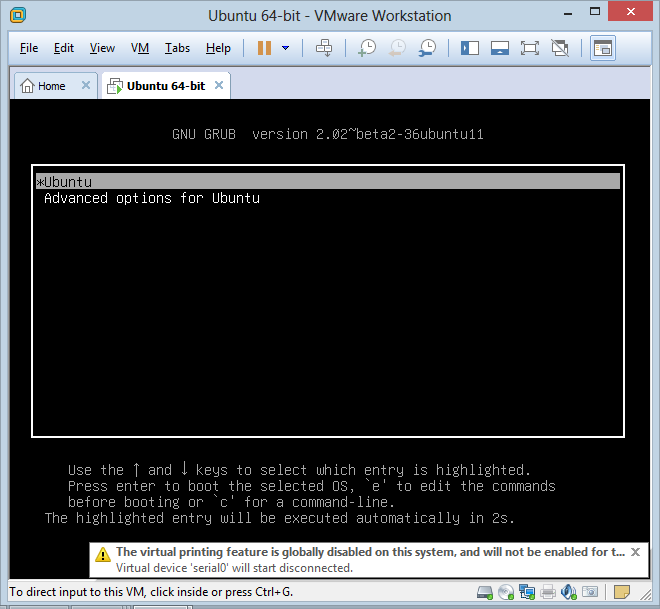
Note that Ubuntu Server has no user interface, so you have to work with it via Command Line. Firstly, you need to log in the system:
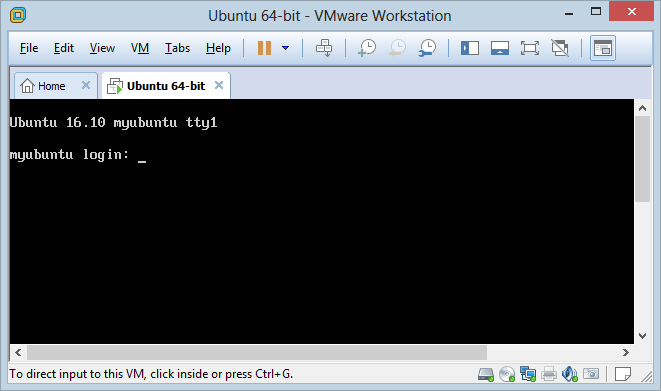
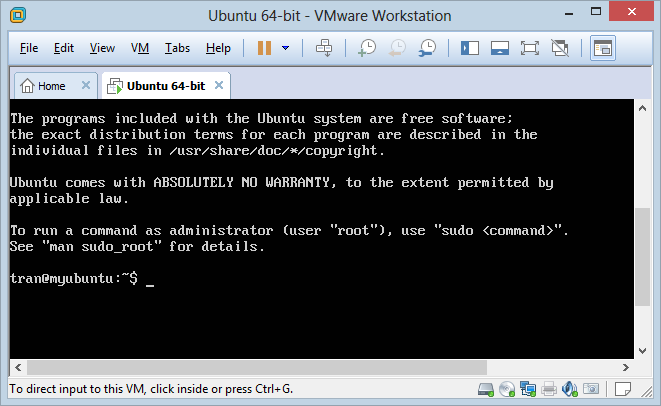
Successfully logged:
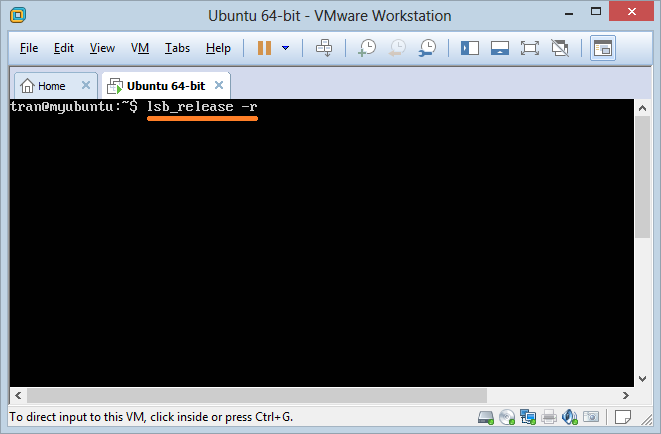
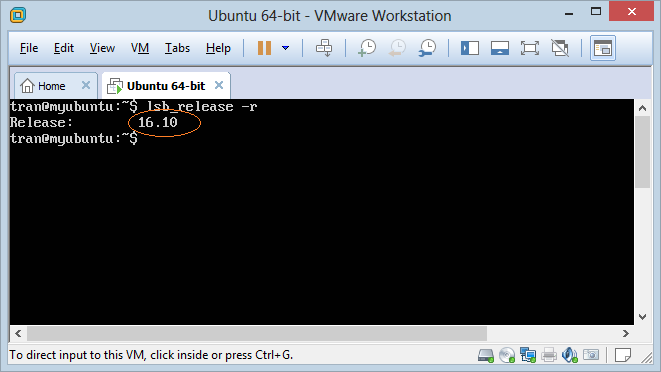
For example, you can use the command line below to check the version of the OS.
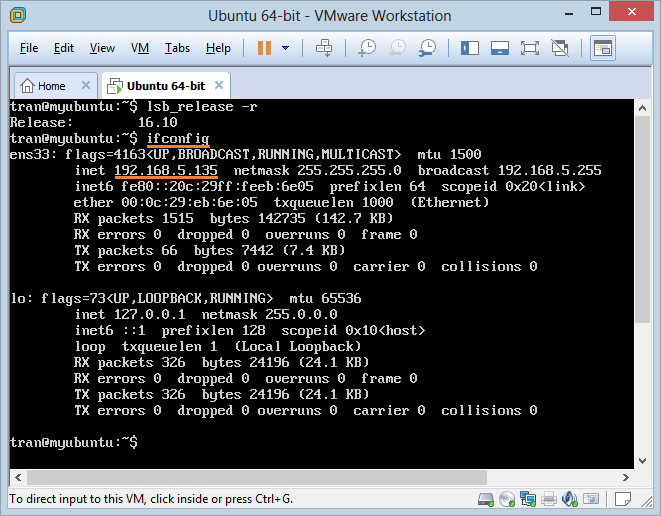
Or use the command "ifconfig" to check the IP of Server.
No ADS
Ubuntu Tutorials
- Install GParted hard drive partition software on Ubuntu
- Install Ubuntu Desktop in VmWare
- Install Ubuntu Desktop on VirtualBox
- Create a Launcher (Shortcut) for a program in Ubuntu
- Install Ubuntu Server in VmWare
- Install GUI and VNC for Ubuntu Server
- Install OpenSSH Server on Ubuntu
- The softwares create note windows on Desktop for Ubuntu
- Install TeamViewer on Ubuntu
- Peek: Animated GIF Screen Recorder Software for Ubuntu
- Install GUI and Remote Desktop for Ubuntu Server
- Transfer files between computers using Cyberduck on Mac OS
- How to use the "hosts" file?
- Install Firefox Browser on Ubuntu
- Redirect port 80, 443 on Ubuntu using iptables
- Use WinSCP to transfer files between Computers
- Use Top Command - Task Manager for Ubuntu
- Check Internet Speed with speedtest-cli on Ubuntu
- Install Winrar on Ubuntu
- Install xChm Viewer to read the CHM file on Ubuntu
- Install FFmpeg on Ubuntu
- Setup environment variables on Ubuntu
Show More
