Install VirtualBox on Ubuntu
1. Install VirtualBox with command
No ADS
On Ubuntu operating system, install the VirtualBox with cammands rather simply. Now, I will guide you for installing the VirtualBox with the latest version. Consider access to the VirtualBox homepage, which will help you know the latest version number of the VirtualBox:
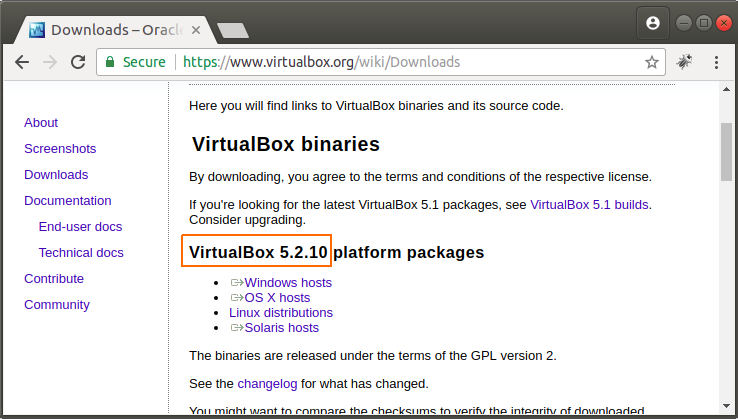
First of all, update the system:
sudo apt-get update && sudo apt-get dist-upgrade && sudo apt-get autoremove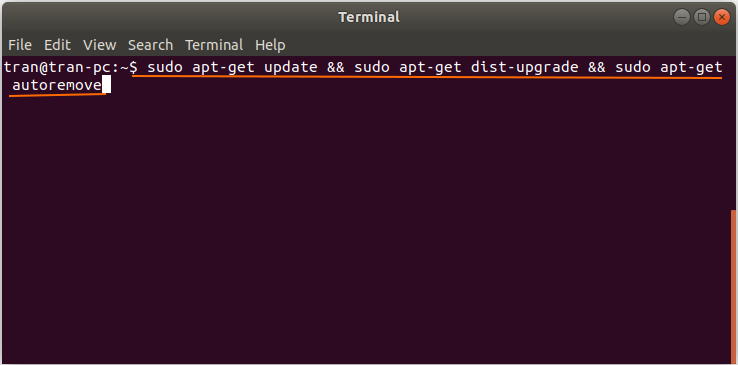
OK, at the moment, your system has been updated. Next, you need to install necessary "Linux Ubuntu headers" for the system.
sudo apt-get -y install gcc make linux-headers-$(uname -r) dkms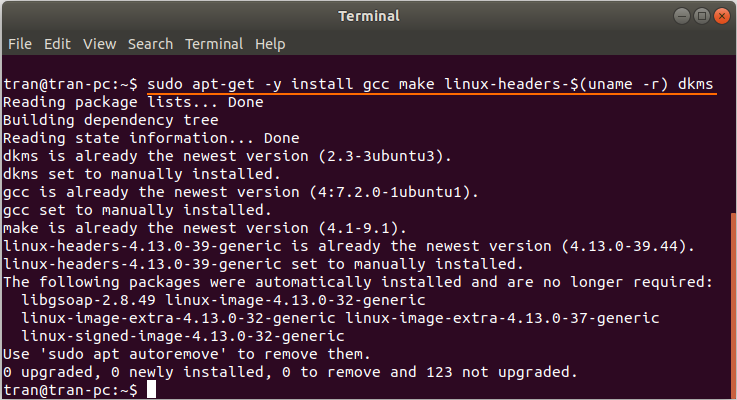
Download and add the key of the VirtualBox to your system, which helps you to be able to access the VirtualBox Repository on the Internet.
wget -q https://www.virtualbox.org/download/oracle_vbox_2016.asc -O- | sudo apt-key add -


wget -q https://www.virtualbox.org/download/oracle_vbox.asc -O- | sudo apt-key add -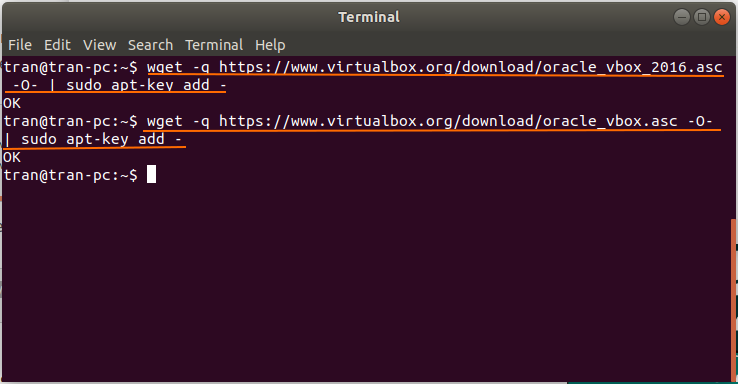
Next, add the VirtualBox Repository to your system:
sudo sh -c 'echo "deb http://download.virtualbox.org/virtualbox/debian $(lsb_release -sc) contrib" >> /etc/apt/sources.list'
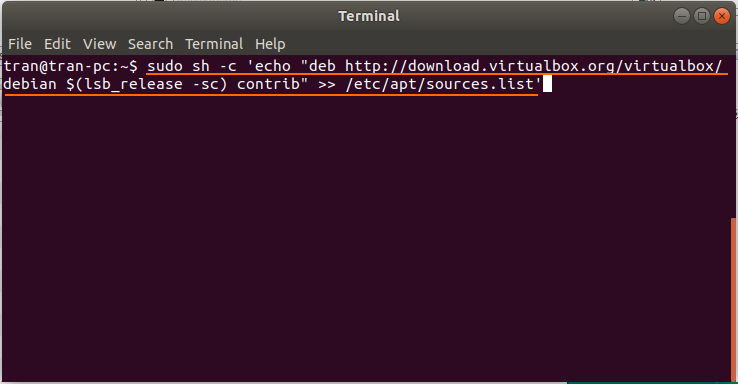
And now, you can install the VirtualBox with the latest version.
sudo apt-get update

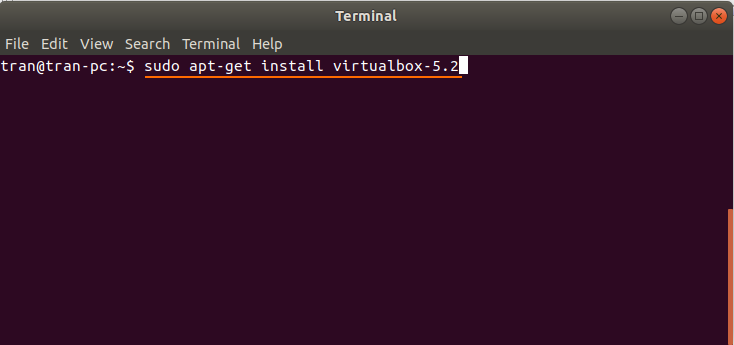
sudo apt-get install virtualbox-5.2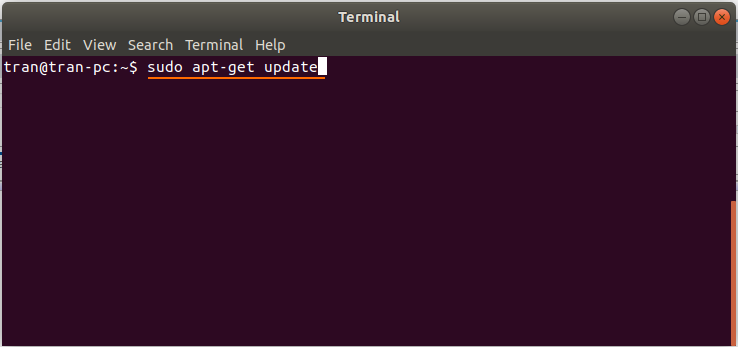
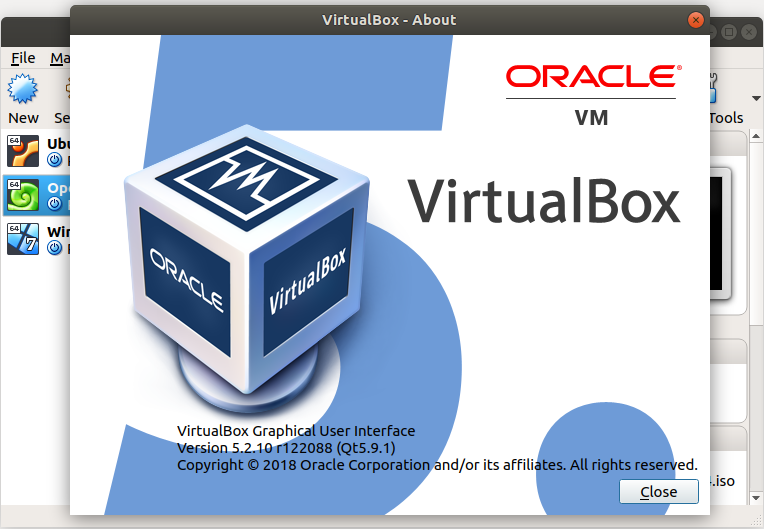
The result after finishing the installation:
2. Uninstall VirtualBox
No ADS
If you has installed many VirtualBox versions on Ubuntu, and want to uninstall all of them, you need to execute the following command:
sudo apt-get remove virtualbox* --purge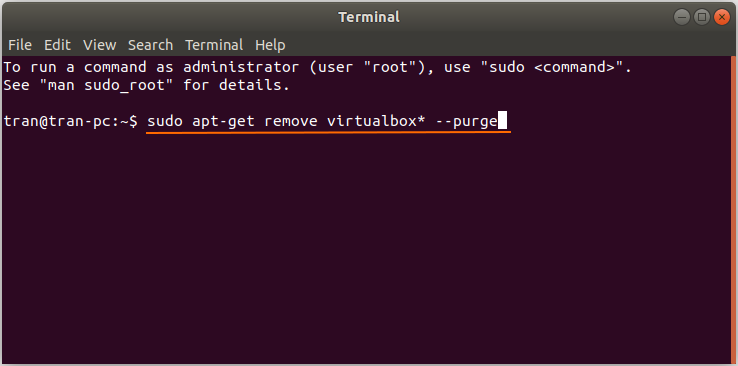
In case, you want to uninstall a specific version of the VirtualBox, let's implement the similar command as follows:
sudo apt remove virtualbox virtualbox-5.0

sudo apt remove virtualbox virtualbox-4.*No ADS